In Part 1 below, we will configure the Domain Controllers. The virtual machines for the domain controllers have already been built in Hyper-V. Below is a table with general VM settings.
| Virtual Hardware | Software |
|---|---|
| 1xCPU | Server 2022 |
| 2xGB RAM | Generation 2 Hyper-V VM |
| 1vNIC | |
| 30GB Disk |
Prepare the Server
We start here with two fresh Windows Server 2022 installs. We are using a strong , randomly generated, 16 character password for the ""Administrator” account. This account becomes the “Domain Administrator” in the first Domain Controller, so it’s imperative that the password is strong.

The password is set, now we can login.
We are greeted with a bunch of Server and network management boxes.
Click No on Do you want to allow your PC to be discoverable
Click Don’t show this message again checkbox and hit the X

Open PowerShell and rename the server to “dc1” and restart the server. Use the commands Rename-Computer “dc1” and Restart-Computer

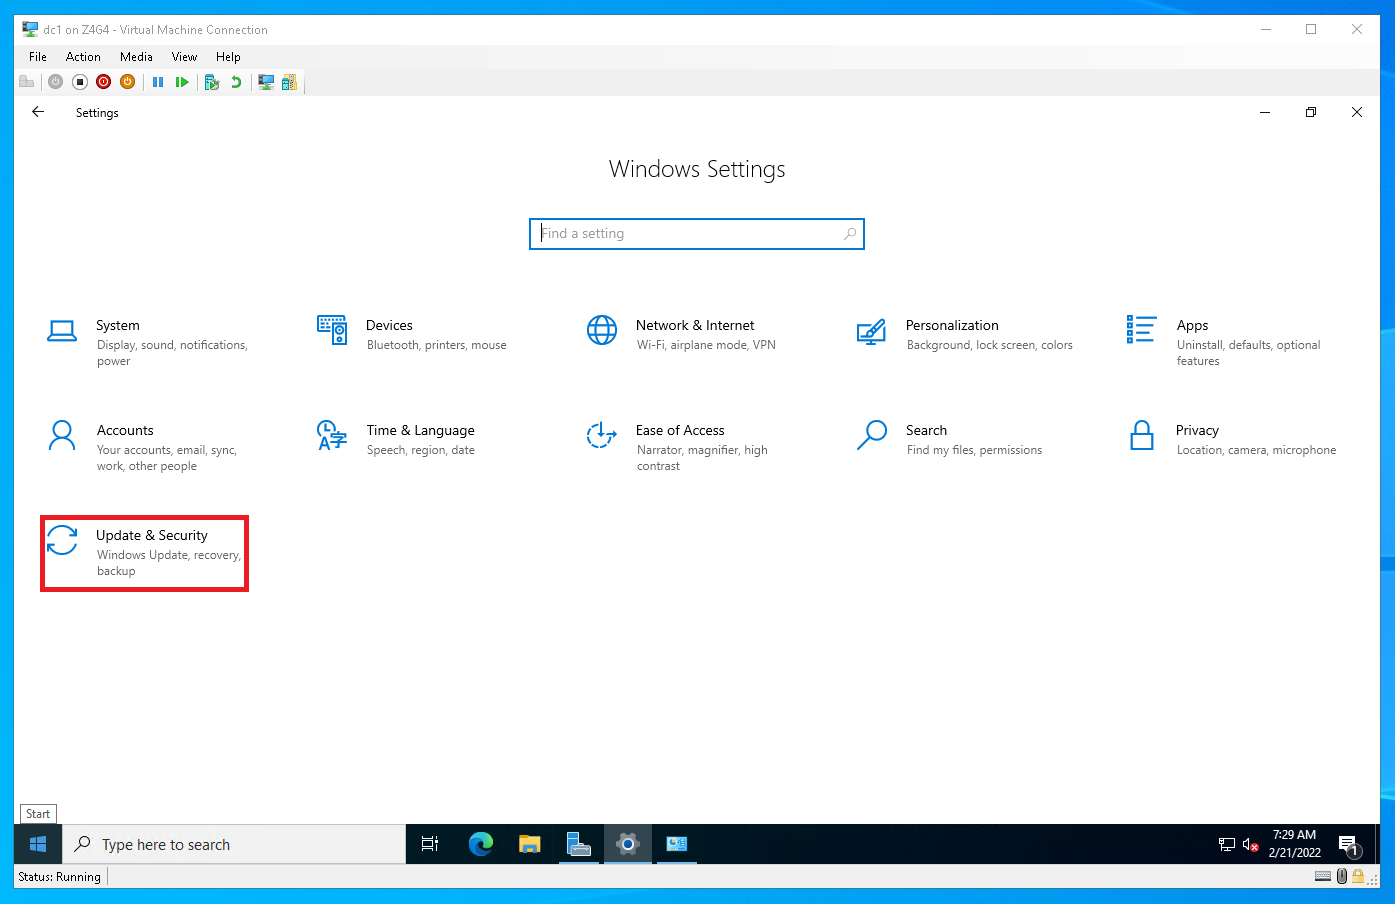
Log back in and set a static IP address by going to Start > Settings > Network & Internet > Change Adapter options.
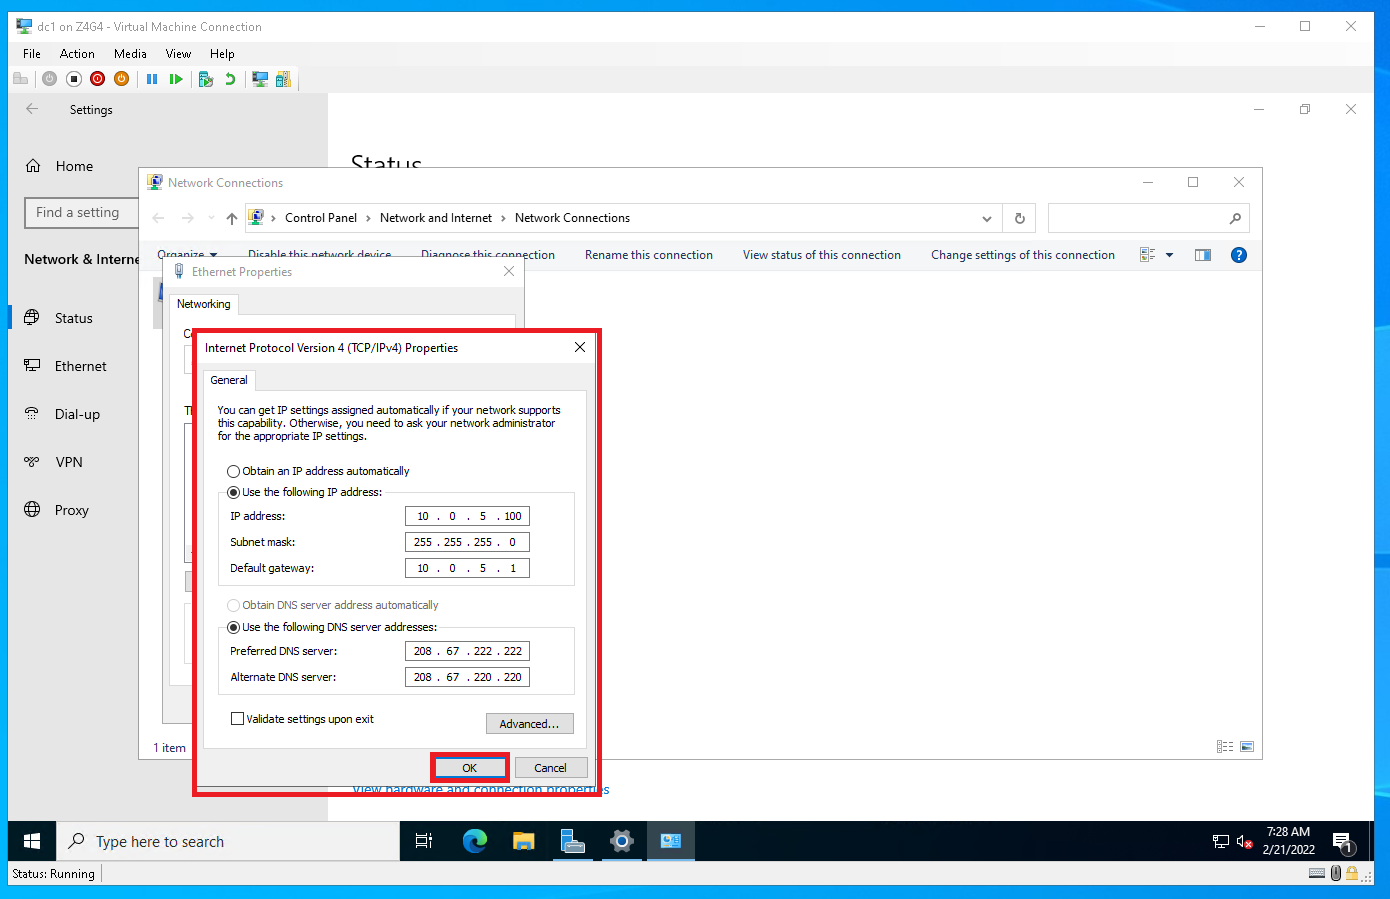
Right click Ethernet and click Properties. Double-click Internet Protocol Version 4 (TCP/IPv4). Set the static IP, Subnet mask and Default gateway to your network.
For DNS, let’s use Cisco Umbrella’s public DNS servers here
Click OK .Click OK again

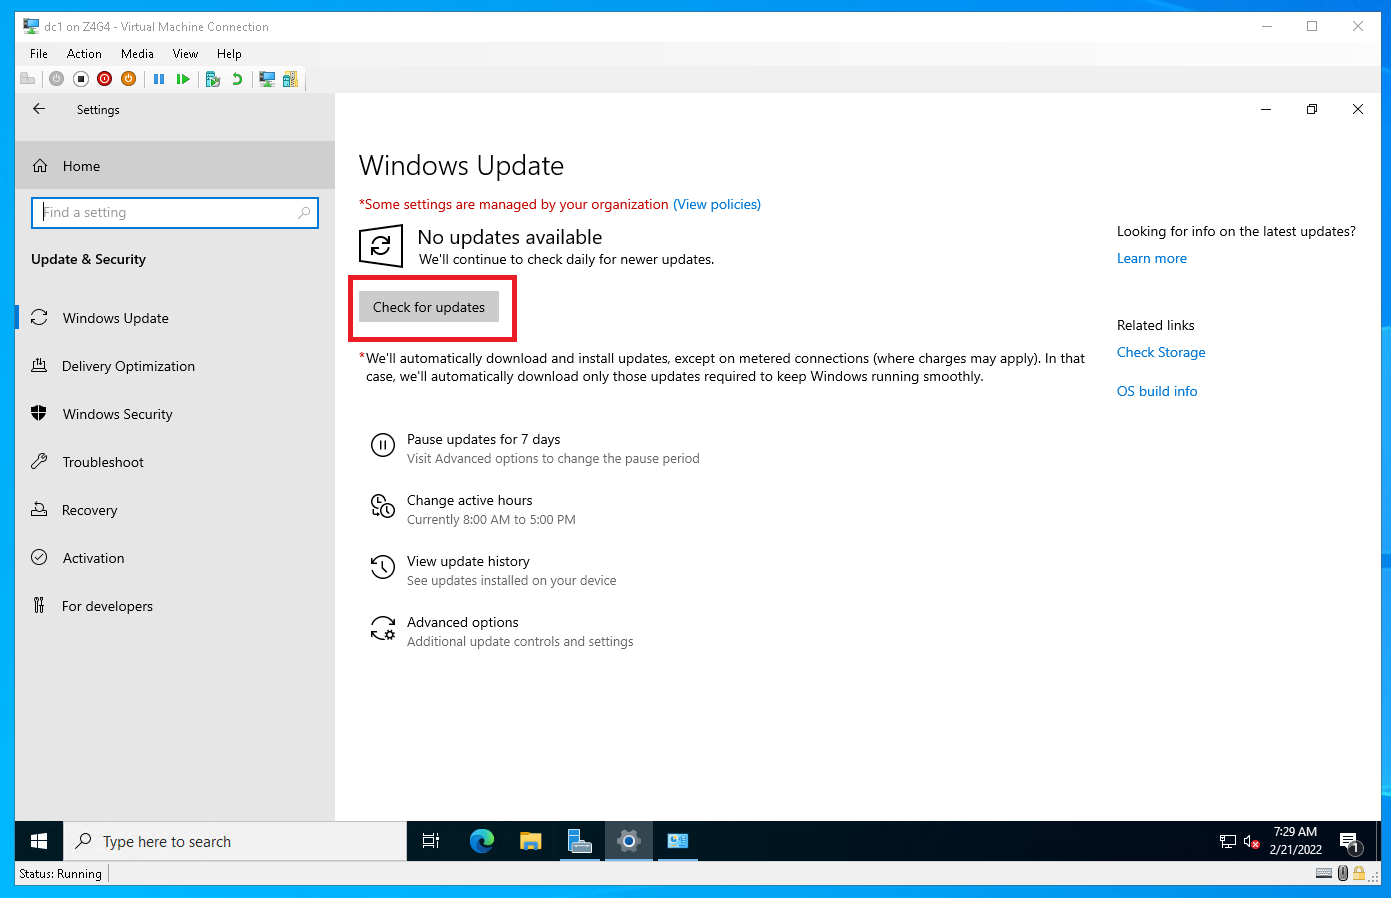
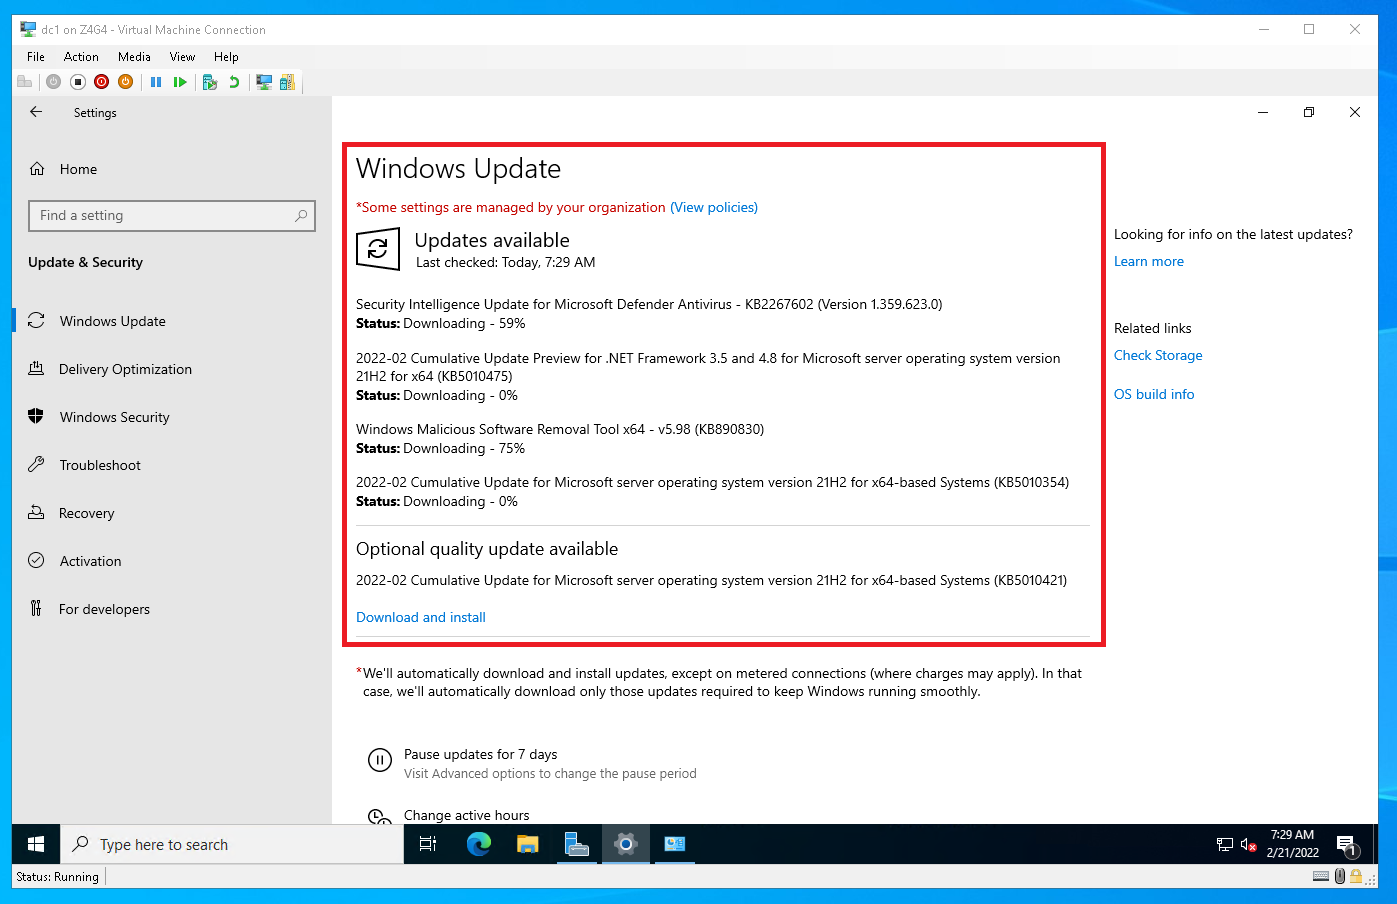
Update windows by going to Start > Settings > Update & Security > Windows Update > Check for Updates. Download all the updates avaiable and click Restart Now when prompted.


Install Windows Roles
Switch windows to the Server Manager, click Add roles and features. Click Next
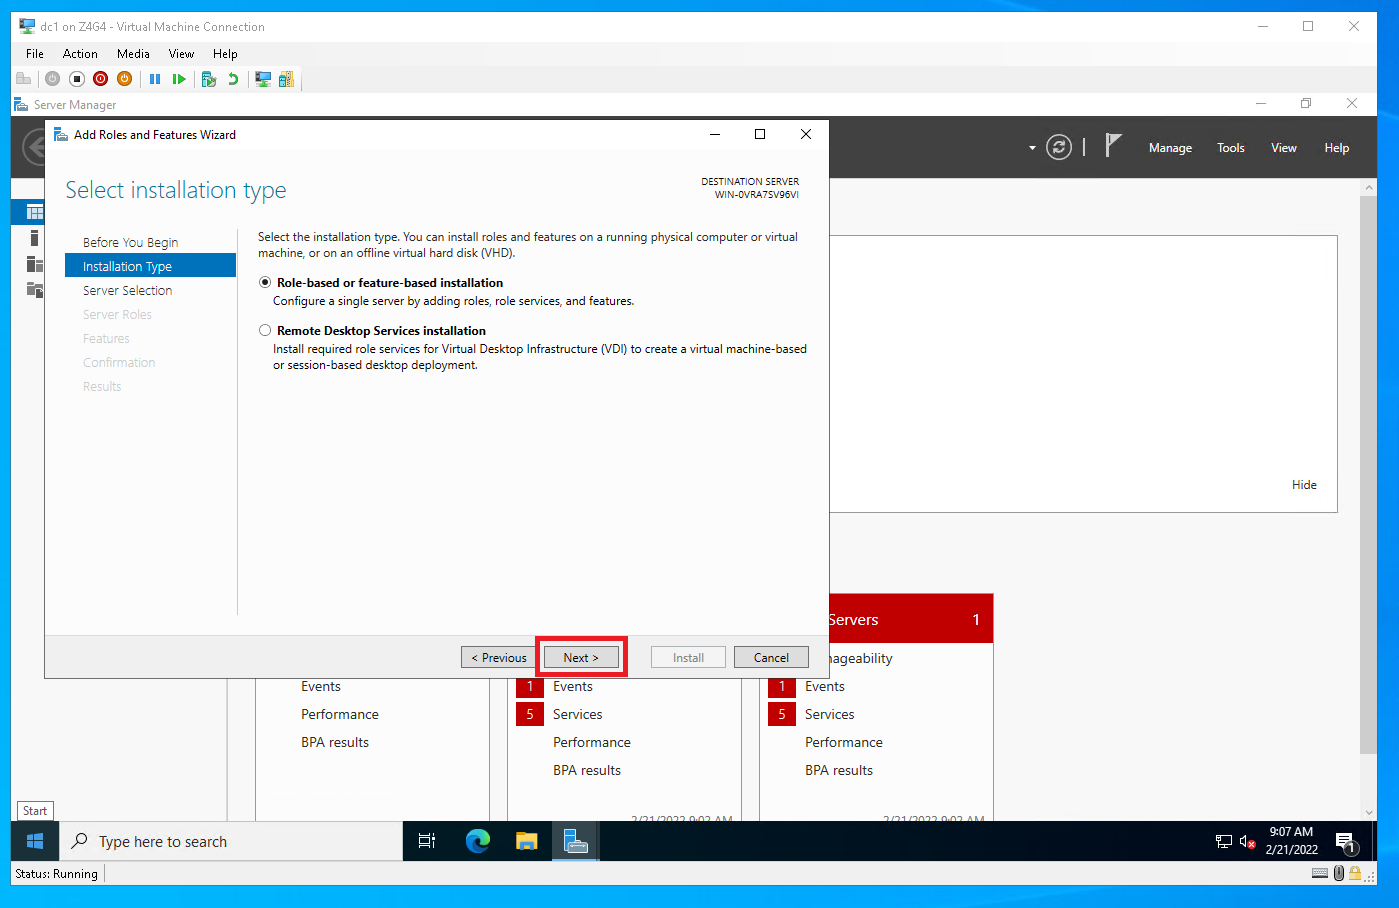
Ensure Role-based or feature—based installation radio is selected and click Next
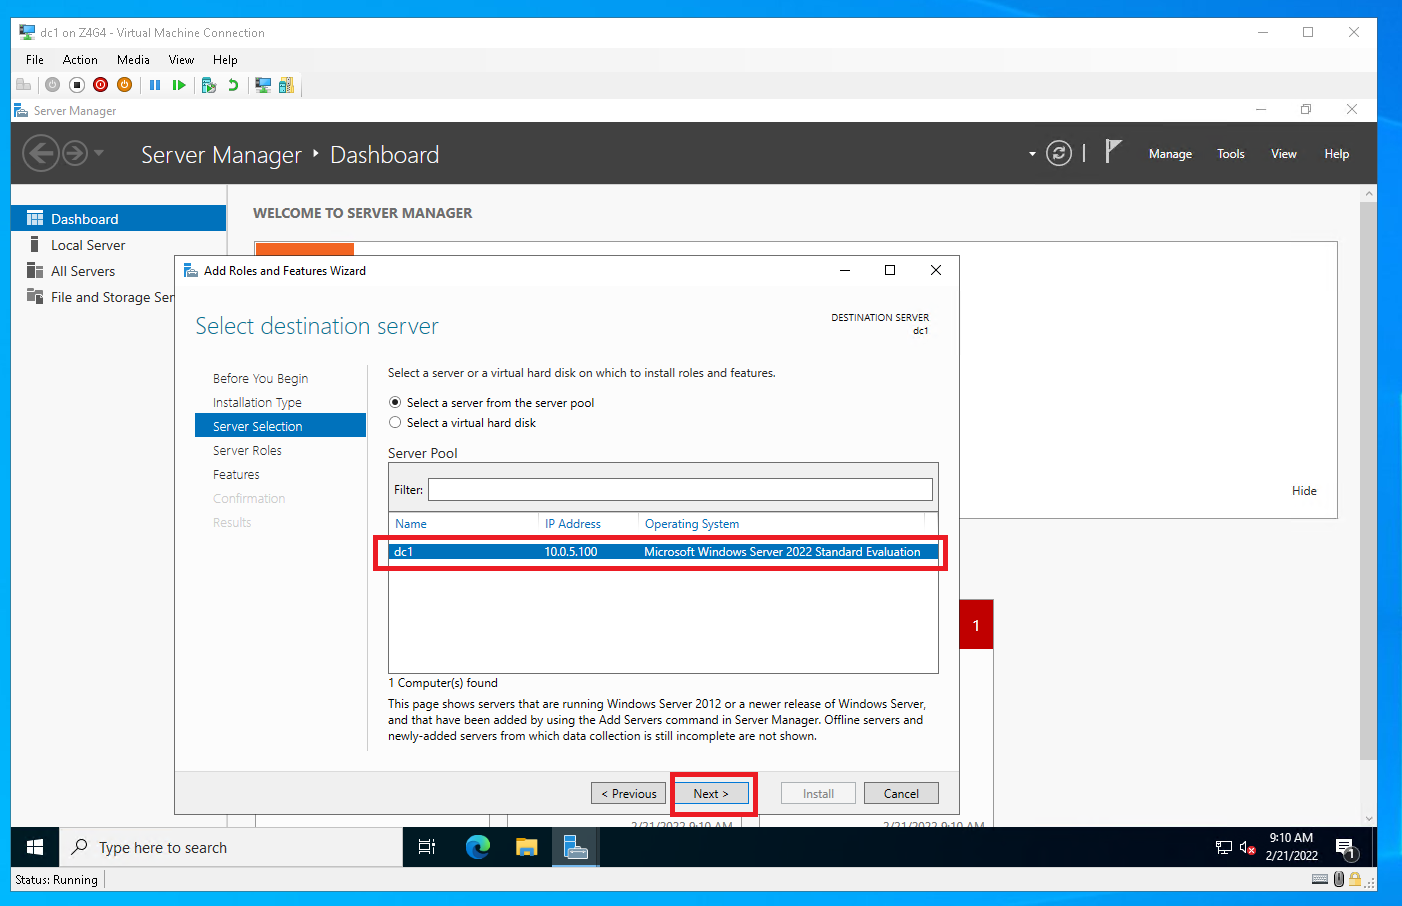
Ensure Select a server from the server pool radio is selected and dc1 is selected and click Next
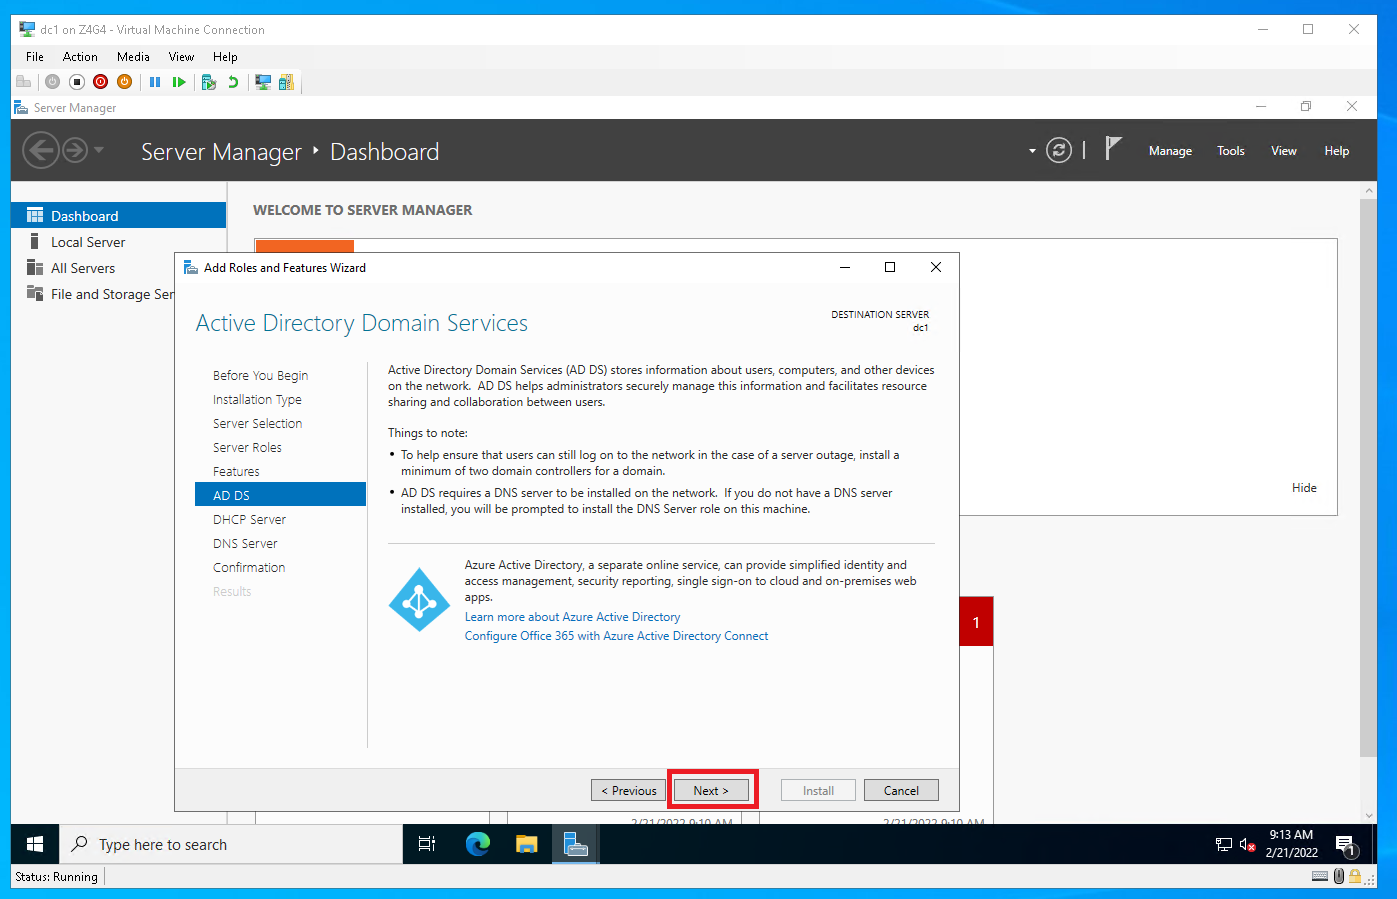
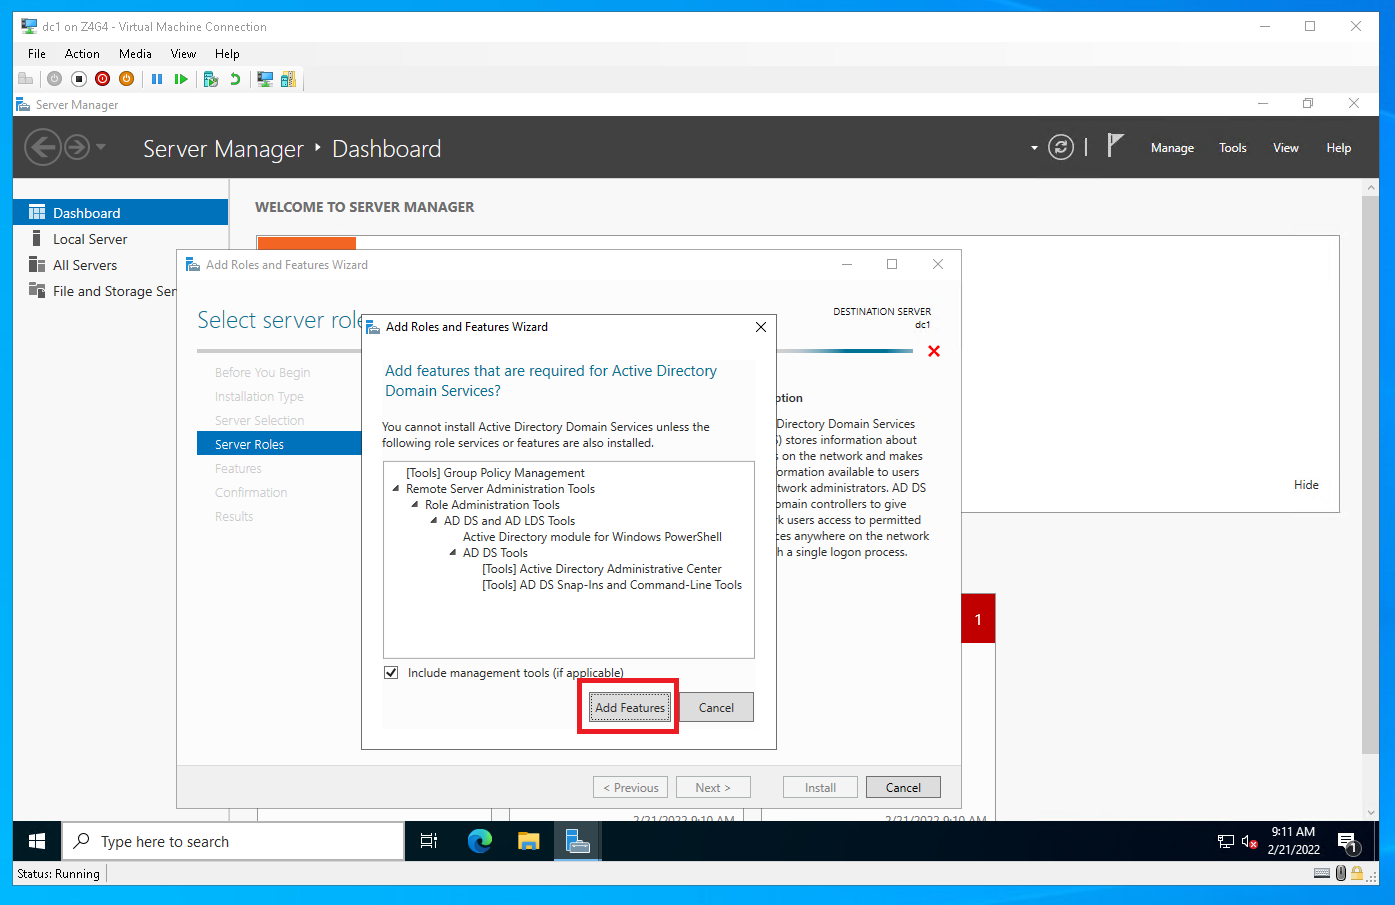
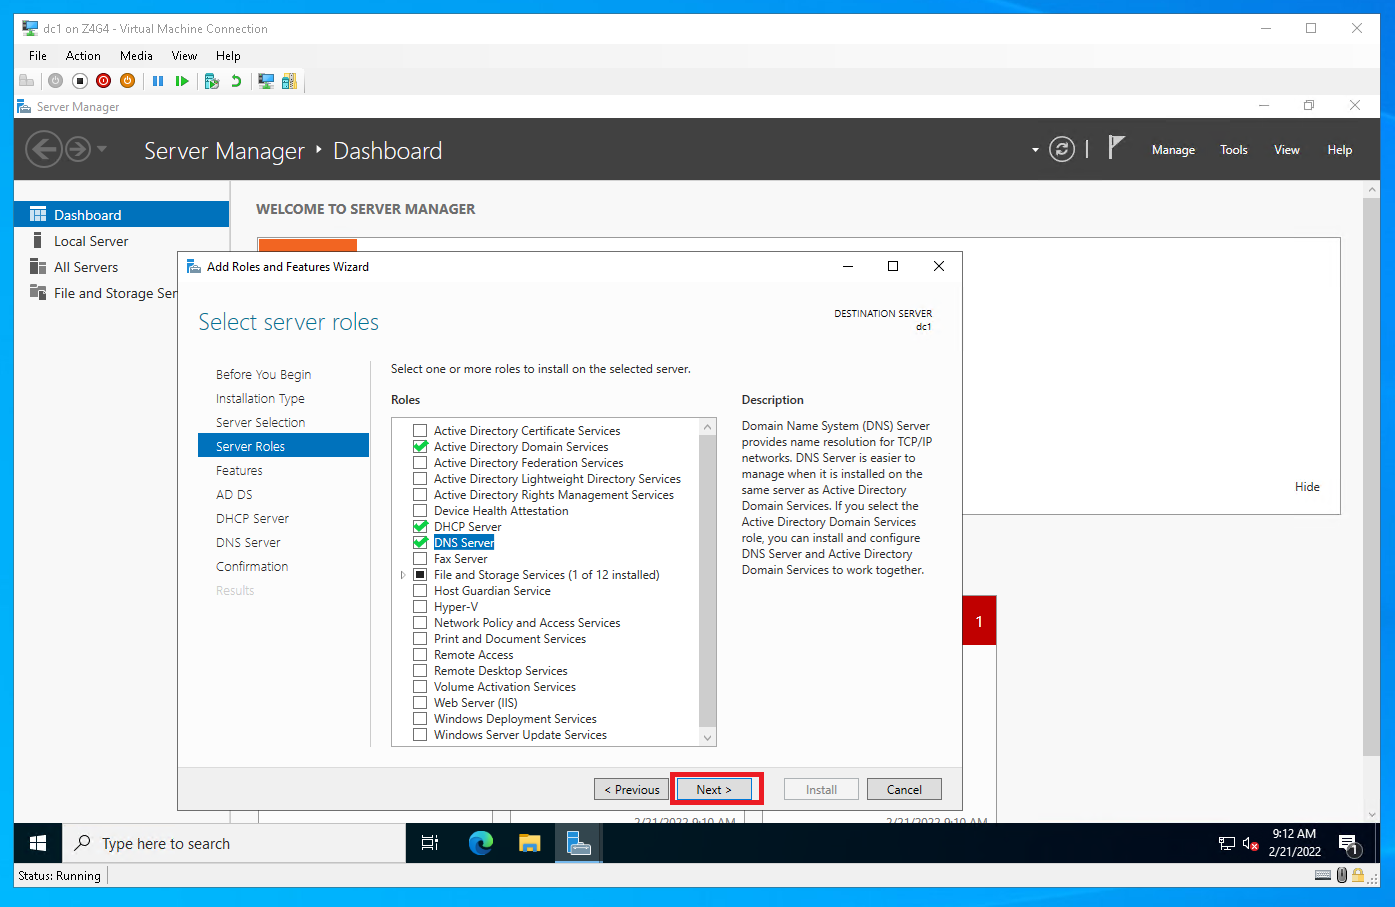
Check the box for Active Directory Domain Services
Check Include management tools (if applicable) > Click Add Features
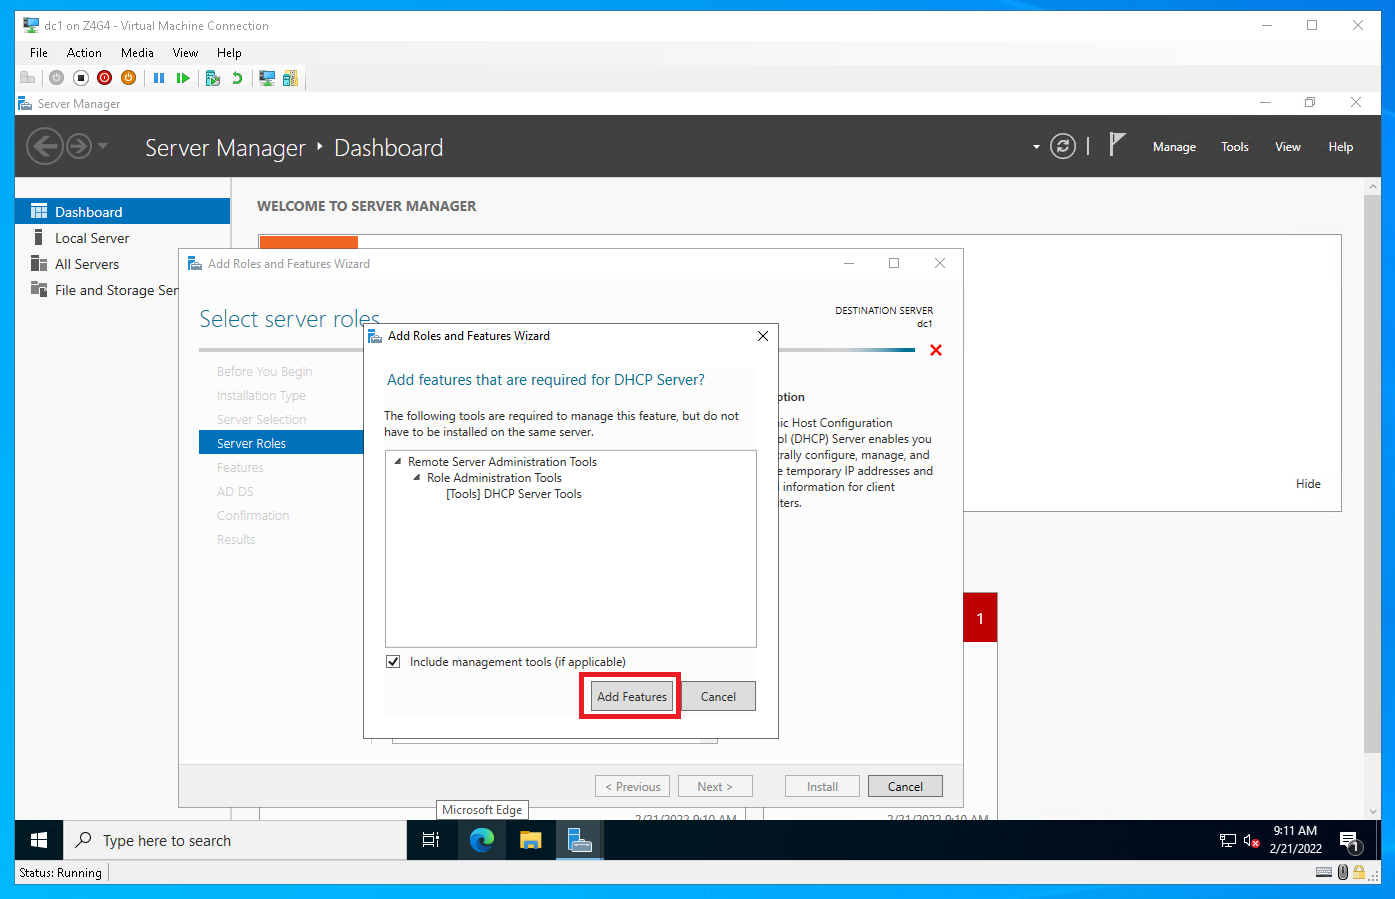
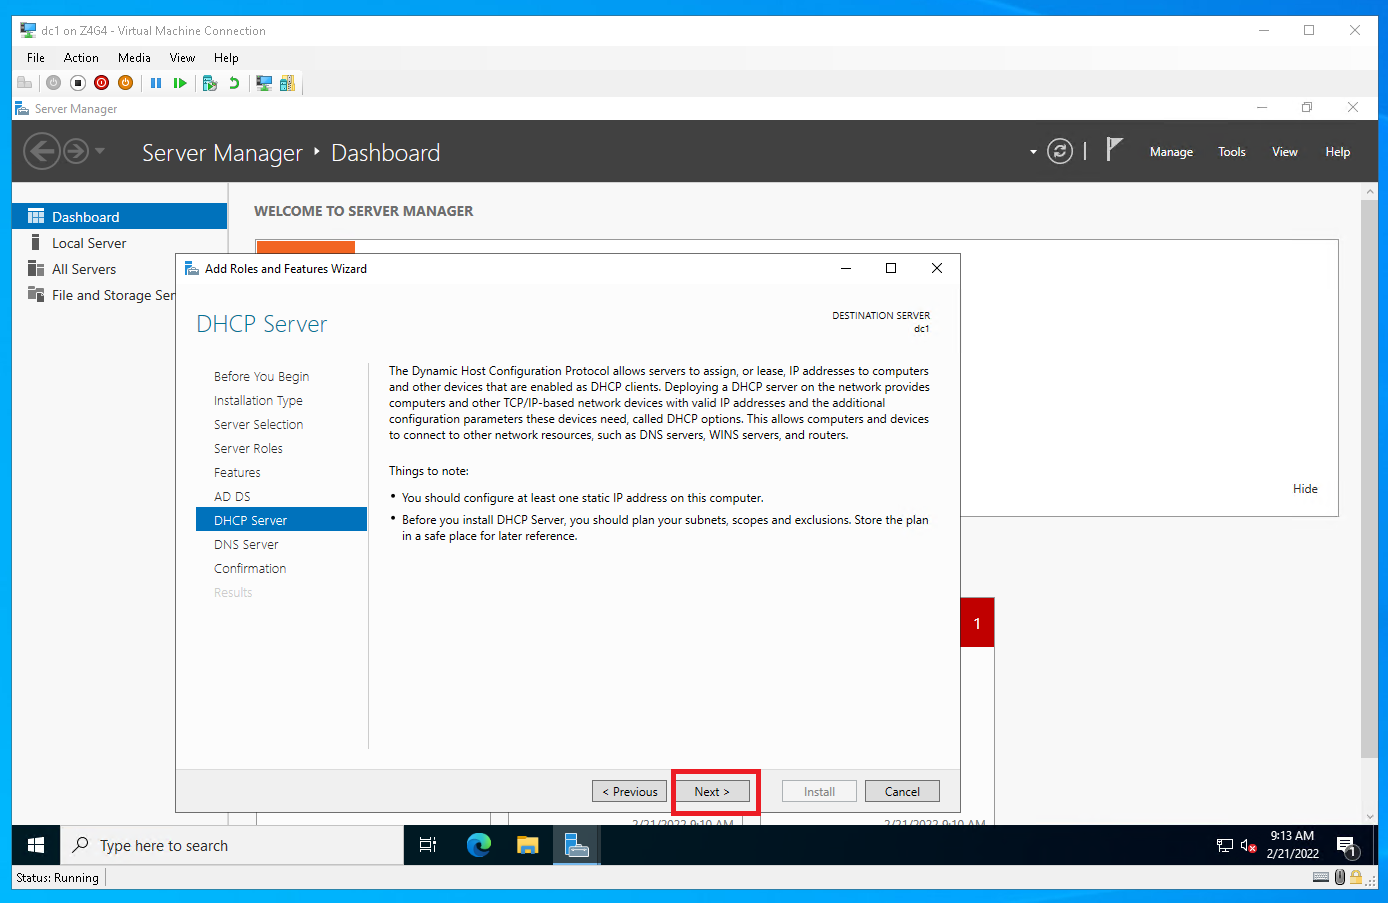
Check the box for DHCP Server
Check Include management tools (if applicable) > Click Add Features
Check the box for DNS Server
Check Include management tools (if applicable) > Click Add Feature
Click Next. Click Next. Click Next. Click Next. Click Next
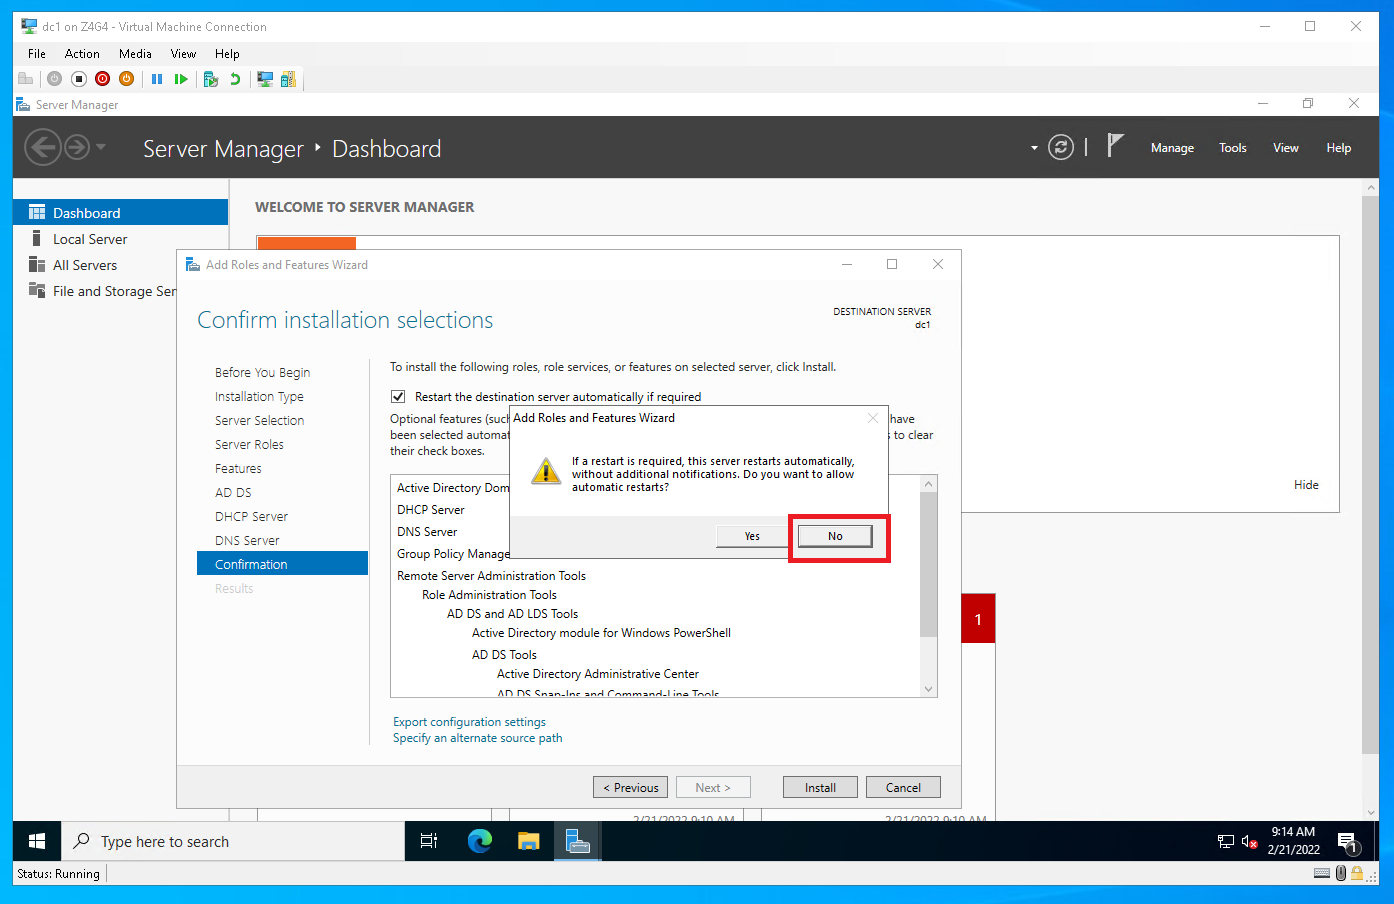
Un-check the box Restart destination server automatically if required.
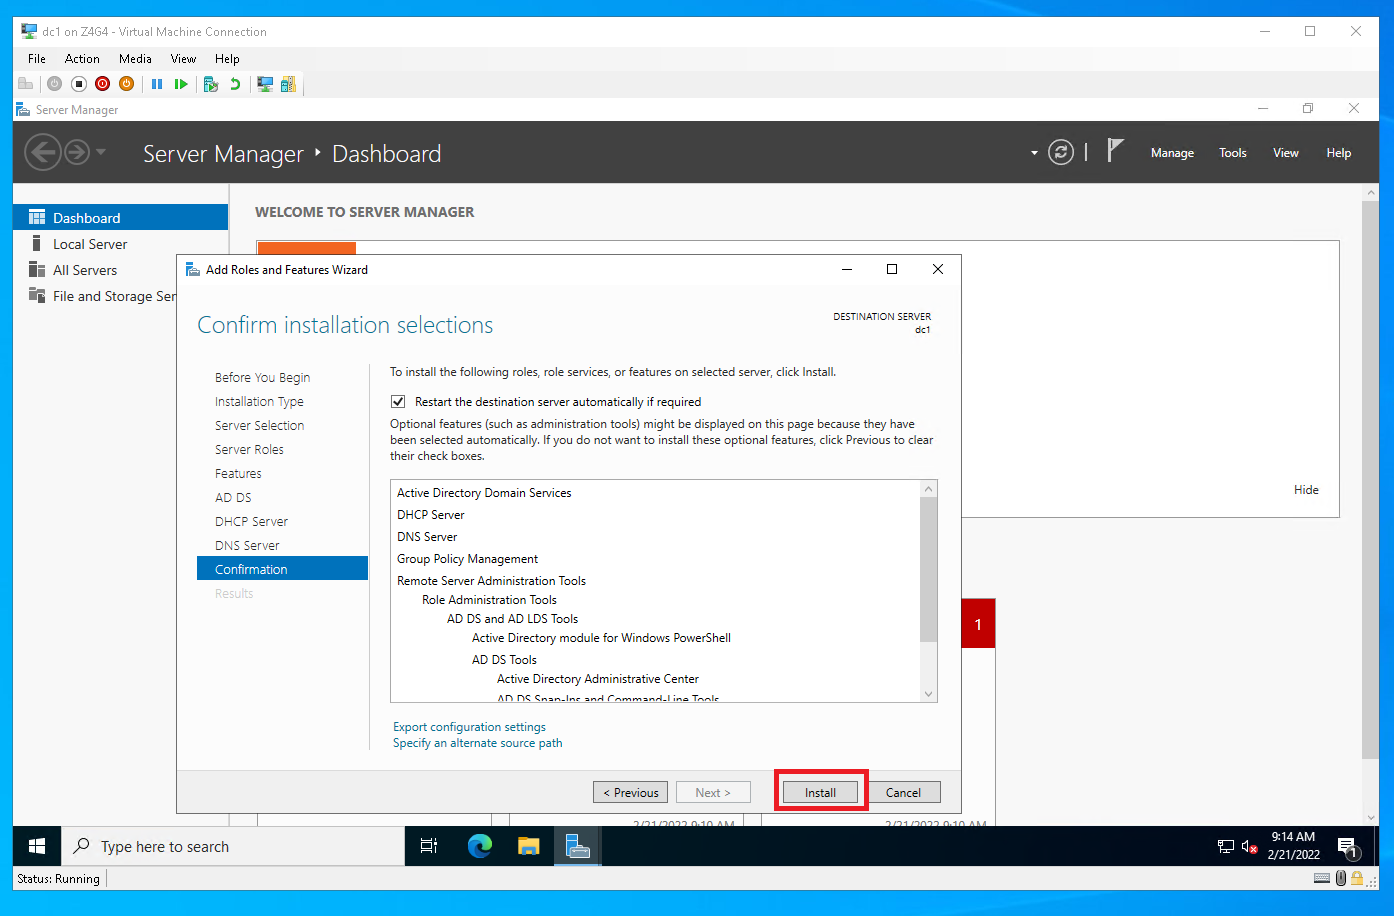
Click Install
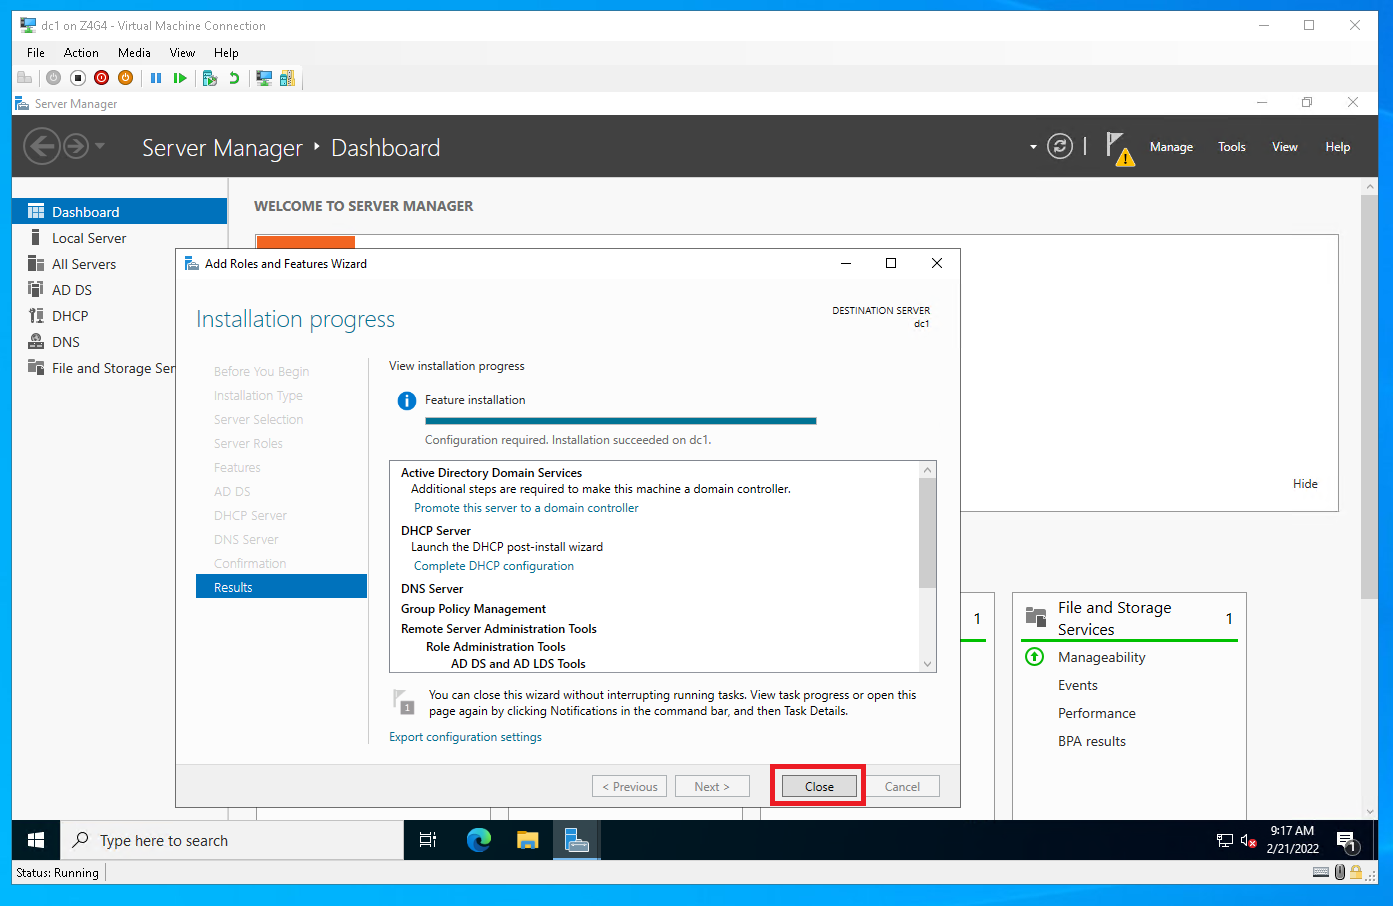
Wait for the installation progress to complete and click Close


Create Windows Forest & Promote
In the top right-hand corner click the flag with the warning symbol and click Promote this server to a domain controller
Check the radio Add a new forest
Enter your domain name. Based on Microsoft Best Practice, you should chose a subdomain of your public top-level domain. For example, if your public domain is tanktopsecurity.com, you’d choose something like ad.tanktopsecurity.com.
Click Next
Leave the defaults up top. Server 2016 is the most recent Forest and domain functional level.
Enter a DSRM password:
Don’t use the same password as the administrator password from the start of the guide. Use using a strong , randomly generated, 16 character password. This password can be reset a a later date if lost.
Click Next
You’ll see a warning for A delegation for this DNS server cannot be created… This is normal for the first DC in a new forest. You can click Show more to learn more on this warning.
Click Next. The server checks for existing NetBIOS names and enters your NetBIOS domain name here. Click Next.
Leave the default paths here and click Next
You can review all the forest and domain settings here. You can click View script to get the PowerShell command that Server Manager is running to create the new forest and promote the Domain Controller. You could copy this script for future us in other Windows network builds.
Click Next
Prerequisite check will run. you’ll see a few warnings. These are normal for a new DC in a new forest.
Click Install
You’ll see a progress window. After a while, the server will reboot.
When the computer is booted, use the Administrator username and password, which is now the Domain Administrator password.
Add DC2 to the forest & Promote
On dc2, repeat the sections above with a few exceptions:
Prepare the Server section
Instead of dc1, rename the server to dc2
Assign a different IP address in the same network
Set the Preferred DNS server address to dc1’s static IP
Create Windows Forest & Promote section
Instead of selecting the radio button Add a new forest, select Add a domain controller to an existing domain
Type your domain name and click Select
In the pop-up window, enter the domain name, the domain name followed by Domain Administrator user name and the password and click OK.
Example: AD\administrator
In the pop-up window, select your domain and click OK
Click Next
Enter a strong DSRM password. Ideally a different password than the one you sent for dc1 .
Click Next
You’ll see a warning for A delegation for this DNS server cannot be created… This is normal. You can click Show more to learn more on this warning.
Click Next
You can leave the defaults and click Next
Again, leave the defaults and click Next
Click Next again
Prerequisite check will run. you’ll see a few warnings, these are normal. Click Install
The server will reboot
Now sign in with the Domain Administrator password.
This domain controller is now synced with dc1 and can server clients for logins and DNS requests